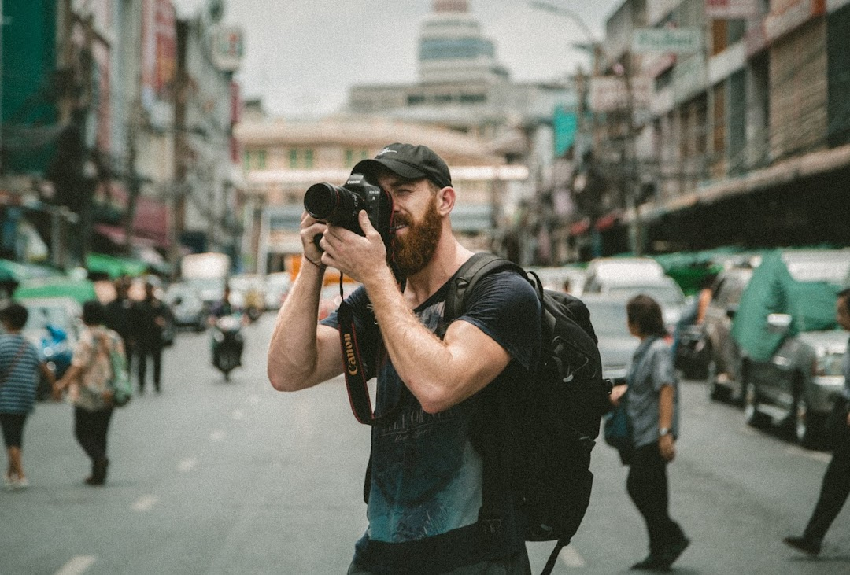
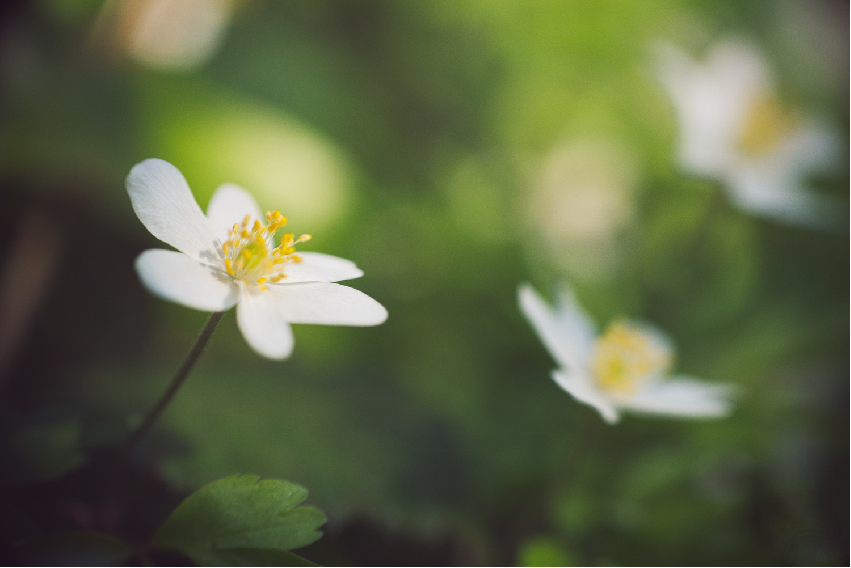
Photography in marketing is a fundamental aspect of calling customers. It is undeniable that the first thing that attracts attention is the graphic
[...]
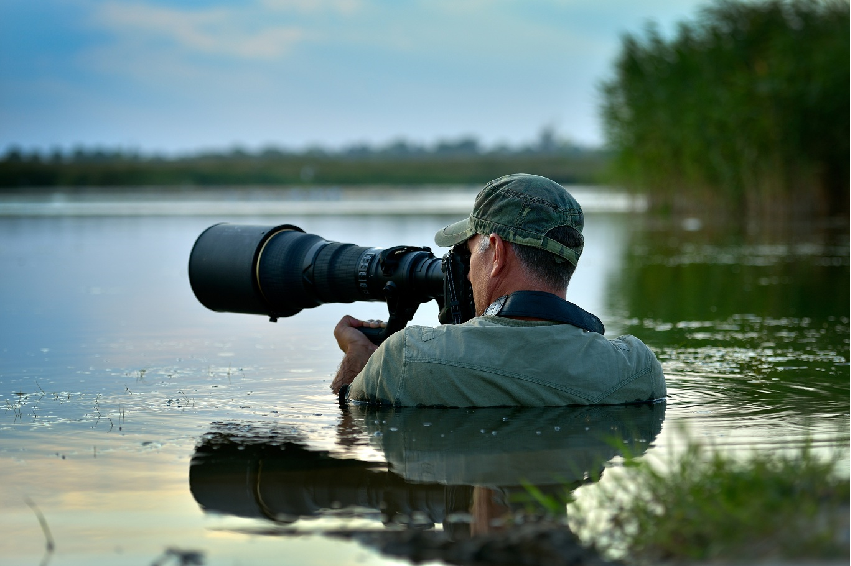
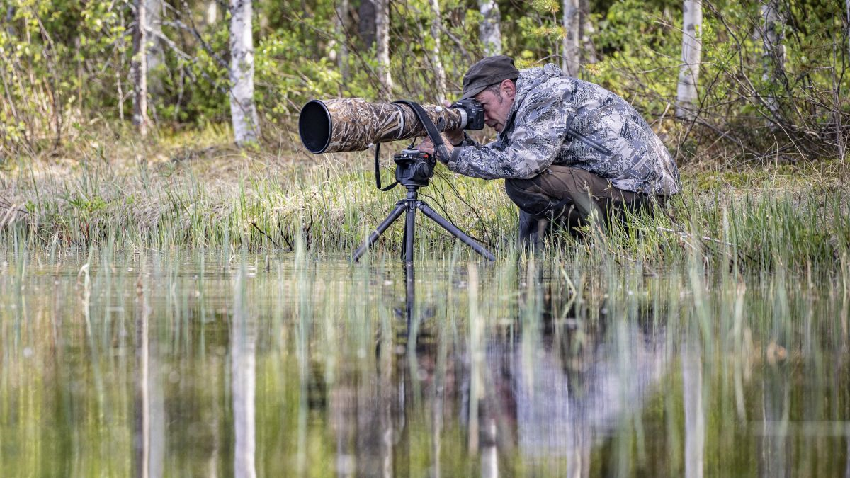
Wildlife photography is one of the most amazing photographic genres. Professional wildlife photographer take pictures of wild animals in their natural environment.
[...]
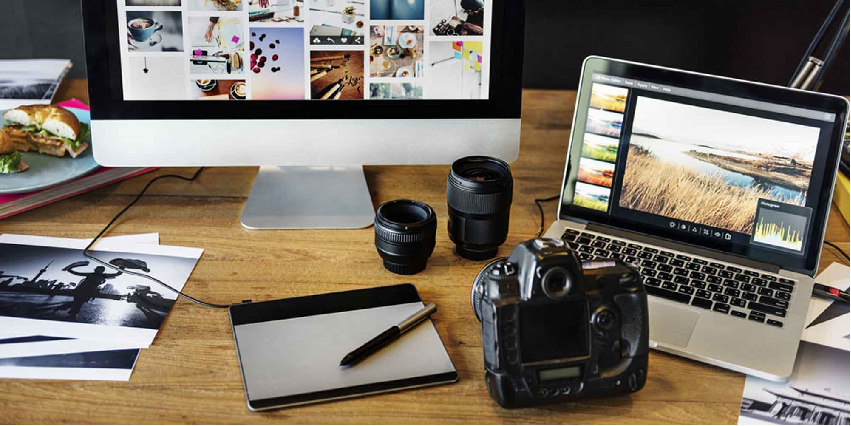
With digital photography, image editing has become increasingly accessible and easy. The editing tools are a great help to improve editing photos. Since
[...]